

RLY240
-
Posts
373 -
Joined
-
Last visited
-
Days Won
10
Content Type
Profiles
Forums
Gallery
Events
Articles
Media Demo
S30z Register
Store
Posts posted by RLY240
-
-
I really should have started this thread 3 years ago when I bought this car but never seemed to get around to it. So now that it's almost finished it will be a much shorter thread and you don't have to wait years to see the finished result.
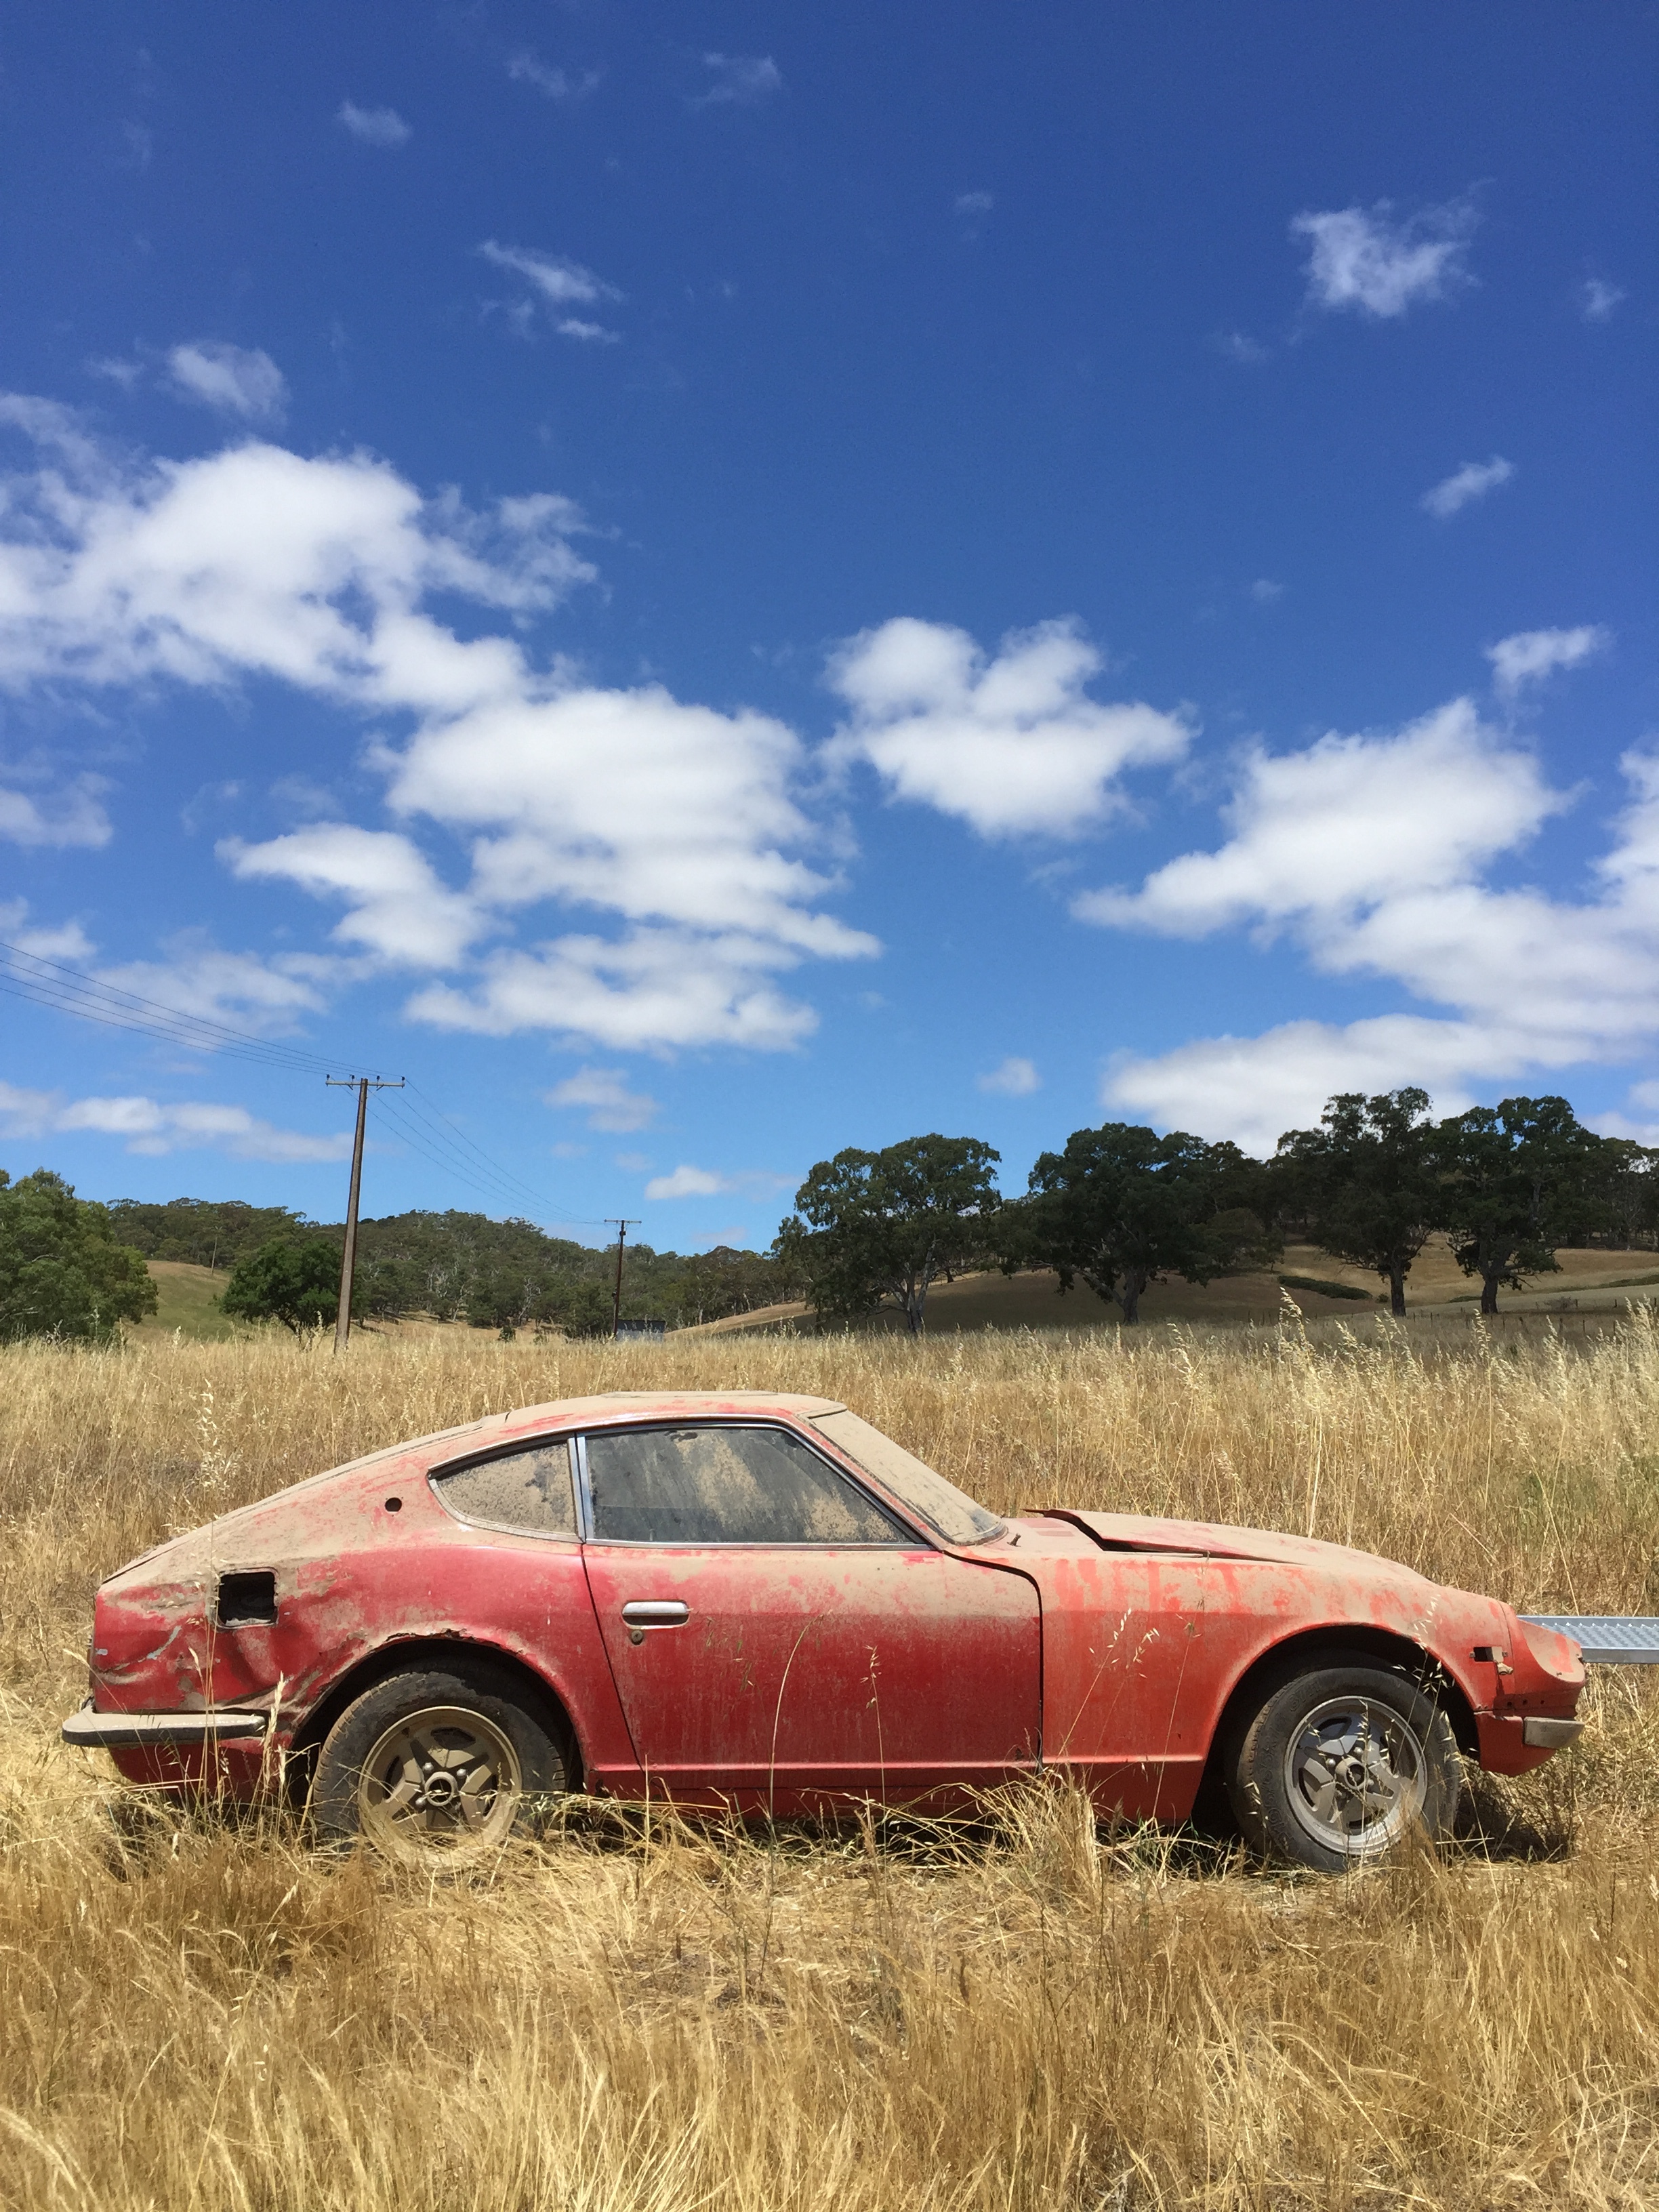
Picked this car up in 2015 from a fellow racer in SA after a 15 year rest in his shed following a disagreement with the Armco. Panel damage down the RHS, some tweaks to the chassis too and the usual amount of rust where the floors and sills used to be.

Some archaeology revealed the original 903 blue under the red paint and the matching numbers L24 block and most of the original trim and other fittings although there would of course be the usual amount of searching for missing parts as with any project.
Once home it was clear a full restoration was required so a rotisserie was sourced and the shell stripped of every nut and bolt. While in hindsight we should have blasted or dipped the shell at the outset in my defence I thought I had a good handle on where all the rust was so we could work without it. We ended up blasting the shell before paint anyway so lesson learned.
I already have a 240z rally car so this one was envisioned as a rock stock Sunday driver, not a concourse or 100% accurate resto but something tidy that I would be happy to actually drive rather than just look at. I also had a range of spare bits that had fallen off the rally car as it was developed so I pretty much had the running gear covered already, just needed to sort the bodywork and convert from auto to manual.
The primary issues would be familiar to all S30 owners, the floors were gone (fibreglass and text books instead of steel) as were of course the doglegs and sill ends. The firewall had been cut open by the PO before realising the extent of the rot and the amount of tricky work required in this area, the plenum was rotted through and as usual the doors were rotten and the rear slam panel needed work too.
The rear quarters were also very bad, with the RHS being beyond repair thanks to the accident and the LHS inner and outer arch almost all bog from a previous "repair". The sunroof also had to go and there was some chassis repairs required to straighten the front rails and pull out the rear quarter around the filler neck where the outer and inner had met and kinked the boot floor.
The car came with a donor or sorts, another 240 that had already donated the roof and all hanging panels to someone else and would supply me with the rear quarter I needed plus a manual gearbox and the other bits needed for the conversion before the remaining rust went off to the recyclers. Replacement panels for the floors, doorskins, sills, doglegs, slam panel and lower guards all came from Rare Spares and a rear guard section from Tabco in the US and a rear valance from Gav. Everything else got made up from 1mm steel sheet and it's amazing how much of this stuff you can go through.
I started with the floors and sills and all the smaller patches before tackling the rear quarter as this was the first time for me getting this deep into a repair.
Removing the rear quarter from the donor was a challenge as it transpired that it had already been transferred from another car so this panel has now been on at least three different cars.
For me this was the trickiest part of the resto as the structural damage had to be repaired accurately enough such that the new quarter would fit up and maintain all the right gaps to the hatch and light cluster as well as the wheel arch.
By the time I have finished up the smaller repairs (guards etc) it was clear to me that I didn't have the skills to fill the sunroof or finish the body to a sufficient standard for paint so I engaged Mick from the SA Zed scene to fill in the roof, patch the LHR guard and then prep and paint the car.
-
Looking for a little advice on a muffler choice for my 240. Currently running mild L28 with headers and a 3 inch pipe and single rear muffler and while it sounds great on song it's way to loud for a street car.
Anyone recommend a suitable muffler I can swap in without having to cut up the rest of the system to fit a resonator in the middle somewhere?
Roger
-
11 hours ago, jeff43 said:
To be honest I haven't got that far. I recall there are some options around including the one Arizona Z car now do. I might just go with leaving it in gear, a set of aluminium wheel chocks and the rear brake line lock off valve that came with the brake setup. The way this car will be driven means it won't be to critical.
Open to ideas.
Cheers Jeff
I fitted a hydraulic handbrake to the rally car a couple of years ago. Haven’t used it yet.
-
-
42 minutes ago, gav240z said:
My 71 is #1415 with a blue interior, so it's possible this car also had a blue interior! Don't suppose you still have the old blue fabric off the seats (if you've since changed it?).
Sorry the old fabric is long gone.
-
4 hours ago, jeff43 said:
Nice Job Roger and Mick, I enjoyed the pics and video - thanks. I look forward to seeing this car in person soon. Great to see another quality South Australian car.
Cheers Jeff
Thanks Jeff, should be ready for Datsun day.
-
23 minutes ago, AndBir said:
Really liked to time lapse - it clearly shows the time and effort put into the car. Great job!
Thanks, I wonder how much quicker it would have been if I didn't spend so much time watching the TV. Note to self, take the TV out of the shed.
I swear that half of the reassembly stage is trying to find that thing that I put somewhere safe.
-
1 hour ago, gav240z said:
Yeah loved the video, what number is this car? Being a 71 and 903 Blue (rare colour) just want to check I've recorded it. Blue is like 3-4% of all cars accounted for so far!
#1410. I think 10/71 on the compliance plate.
Factory auto with a fibreglass early style console. Seats were also blue but the rest of the trim was black so I assume they were swapped out some stage but they were the early style mechanism so might have just been recovered.
-
-
Now that this car is almost finished it's probably time to start a build log...
I picked this up about three years ago, had been crashed front and rear in the late 90's and then parked in a shed for over 15 years. The last two years has been the hard graft on all the usual rust repairs and collection of missing parts before handing the shell over to Mick for the bits I couldn't do (sunroof and well all the external panels really) and then finish and paint.
It's an original 903 blue car with mostly black trim (blue seats though), was auto but now manual and is going back to mostly factory although I'm not fastidious so it will be done as a driver not a faithful concourse restoration.
Have a collection of spare bits from the Targa car so this one is getting a warm L28 on SUs , Hilux front and R31 rear brake conversion and a 3.9 diff sitting on 16x7 Superlights.
You can check out a small gallery of pics on our website here https://www.rally240.racing/build-log-gallery/ or a 20 min timelapse video here.
-
-
8 hours ago, csp-311 said:
FYI, the inspection lamp can be found on earlier Nissan models, and comes with a metal (chromed) arm and a glass domed light bulb cover. The S30's got the more mass produced (easier to make /cheaper) versions of this lamp (though it wouldn't surprise me if the very early S30's got the same glass domed version).
I’ve got one with a steel toggle switch and a glass lens.
-
-
-
Hi Craig, you can add one of each to my other order if you like.
Roger
-
Yes picks up on all four bolts. Might not be the best for traction control but I guess if you needed a higher resolution you could possible glue addition bold heads in between the 4 rotor bolts.
-
I should have said they sense off the rotor bolts. In the picture the bolt is set at the height it would be with the rotor and spacer fitted, that setup used the Hilux caliper and a bluebird (I think) rotor.
-
That’s the same probe I think. Nowadays we use a GPS Monit. This is a better view of the bracket I made.
-
I fitted a probe for a Terratrip on my 240. Needed to clearance slightly and made a mount that bolts to the dust shield mount.
-
Anyone used something like this unit?
http://www.outofsightaudio.com/mark-i.html
Just needs power and speakers.
-
Couple of laps from both the long and very long tracks at the new Tailem Bend Motorsport Park in SA.
-
-
I would vote no. If you shim the cam towers then you also have to change the lash pads to correct the wipe pattern on the rockers. There should be enough room in the tensioner to take up the extra slack in the chain and there’s usually three options on the cam sprocket to let you advance it to get your timing back.
-


'71 903 Blue 240z
in Members Project(s) Journal
Posted · Edited by RLY240
Part 2 - back from paint.
I'm very grateful for the work Mick put into this car on his weekends and days off, I certainly can't do the quality of work that he does and the end result speaks for itself.
And so begins the biggest jigsaw puzzle.
All the bolts and fittings went off for zinc plating (I prefer this over the yellow passivate even if it's not the correct look) and the dash and seats (which were actually blue) sent out for recovering.
I started with the interior (as the bolts hadn't come back yet ) and used dynamat on the floors, carpets from Ausclassic and then hand made all the firewall trim and 'A' pillar vinyl etc while the original diamond trim mostly cleaned up and was reused as were the door cards. Unfortunately all the rear plastic trim panels have been covered with vinyl that won't come off so they just have to stay that way for now.
And then the original hard lines and wiring went back in (after a cleanup) and the rest of the mechanicals started to go in. The suspension is lowered King Springs and Koni red dampers, Toyota 4 spot front brakes and R31 rear discs and a 15/16 master with poly bushes and eccentrics in the front and rear arms. Interestingly I found that at some point the original master had been replaced but the installer didn't realise that the front and rear brake outlets were reversed on the master so the front was plumbed to the rear and vice versa. During assembly of the booster it was also apparent that the pushrod in the booster was about 20mm too short so the pedal had way too much free play and the master didn't get near full stroke. I wonder if these two combined had anything to do with the accident damage on the car and the fact that the owner never bothered to get it repaired, must have been pretty sketchy to drive especially in the wet.
New front glass (professionally installed) and the rear glass removed from my rally can and used in this one (good excuse to put a polycarbonate rear in the rally car!) as well as new door glass and all the rubbers and seals etc.
While I do have the matching numbers engine it's in bits and needs a rebuild so in the meantime a spare L28 is going to provide the forward momentum. It's a bit of an unknown as it was in the rally car when we bought it over ten years ago (from this forum, it was a daily driver of a member before we transformed it) but I think it's got flat tops and a mild cam and it runs well with the Hitachis and extractors although it's not going to win any races.
Skip a few pages and now the car is on the road (although not quite finished, are they ever?) and finally hit the streets for the first time this weekend almost 20 years since it was last on the road.
On the first drive we set off without as much as a screwdriver and after an hour or so cruising the Adelaide hills nothing leaked, fell off or got hot, all the gauges worked (although the speedo is out) and even the home brew wheel alignment kept us pointing straight.
There are still a few ideas to play out on this car, I have a set of triple 40mm Mikunis sitting on the shelf and the EPS on the rally car might get replicated on this one too but otherwise it's time for a drive.
For the full timelapse of the build check out the video here
For the first drive video see here
And for more photos and blogs check out our website at rally240.racing.
Roger