


Scoota G
-
Posts
4,291 -
Joined
-
Last visited
-
Days Won
2
Content Type
Profiles
Forums
Gallery
Events
Articles
Media Demo
S30z Register
Store
Everything posted by Scoota G
-

The Ebay Thread #2 - Post Ebay Parts Here!
Scoota G replied to XRQTR's topic in Parts and Tools for Sale
Hmmm a local. http://cgi.ebay.com.au/Datsun-Nissan-240Z-260Z-Front-Spoiler_W0QQitemZ260432794563QQcmdZViewItemQQptZAU_Car_Parts_Accessories?hash=item3ca30113c3&_trksid=p3286.c0.m14&_trkparms=65%3A1%7C66%3A2%7C39%3A1%7C240%3A1318%7C301%3A0%7C293%3A1%7C294%3A50 -
Whatever
-
Yea i took my engine out 3 weeks ago and had it out in 2.5 hrs, it's the teething problems that always chew up the clock.
-
I had similar problems so i bought a 140 amp alternator that was supposed to suit a chevy or holden V8 but with a small adjustment to the alternator mounting it fitted and i haven't had a problem with it since. What brand is the alternator you want to fit and how many tabs are there for the wires to plug into?
-
Lol it's Mr Fantastic from the Fantastic 4
-
I'm Game bring on the abuse
-
What about a feature engine rebuild?
-
Dvd was received this morning June 18 at 10:35am.
-
Have you figured out a sequence to weld them up to minimize distortion, or does the thickness and bends cancel that out?
-
FINALLY, a new member who signs up a dosen't say "new member" in the subject area. There must be a dozen of them floating. Anyway Velcome Comrade
-
I have a gasless mig which i use for panel repair. Fibreglass works but only if you have a clean, dry and somewhat coarse surface for it to bond to. I would tack a 1mm plate behind the area (which would be very difficult to get to) and then fill the holes with weld or metal and grind and weld and so on till you get the disired finish. The whole area would need to come back to metal. Other than that you can cut out exactly the area (using a donor metal) you have to fill and then slowly weld that in place. It is very easy to blow holes in sheet metal even with a Mig.
-
Dude, you're a natural This is my below standard effort at painting stuff.
-
Dang, The green one looks SPANKY ... Woooooooooo
-
-
-
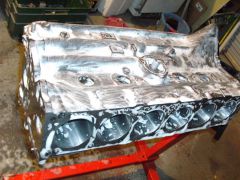
From the album: 2009 Engine Rebuild
Block wash -
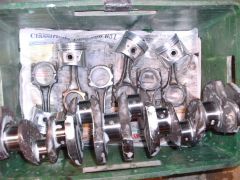
From the album: 2009 Engine Rebuild
Washing the crank and pistons with hot soapy water prior to installation -
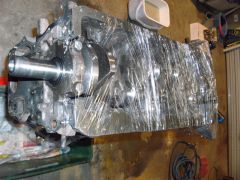
From the album: 2009 Engine Rebuild
Keeping the block wrapped and dust free -
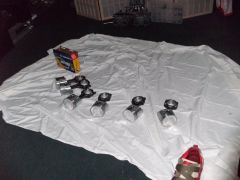
From the album: 2009 Engine Rebuild
Piston installation floor party -
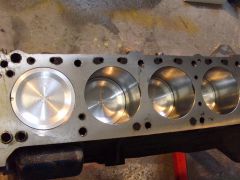
From the album: 2009 Engine Rebuild
Pistons installed with Chrome Moly "Hastings" rings -
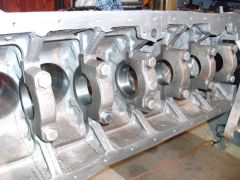 This is what i got done: hot tank all engine parts, bore and hone, surface block, resize rods, clean crankshaft and linish, full engine balance, modify crankshaft. Parts supplied were Hypertec pistons, Chrome Moly rings, bearings and full gasket kit. Total parts and labour $1776.
-
or was that black with a yellow stripe?
-
If they are saftey socks they should be yellow with a black stripe
-
Sounds like you need to work more on your wet & dry rubbing between coats. 400 wet and dry (The Black color) used wet between coats is a good starting point for primer, i always tend to buy the norton brand paper but you need to buy it in sheets. You can buy dry paper from a roll which tends to be cheaper but i haven't seen it in roll form. Also as you get more coats on you can go for 600 or 800 grade.
-
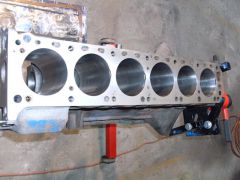
From the album: 2009 Engine Rebuild
40 Thou over and decked -
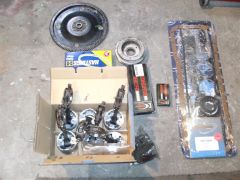
From the album: 2009 Engine Rebuild
King bearings, Hastings Rings, Full gasket set, Resized and balanced rods, Balanced flexplate and harmonic balancer.


